Through Universal Analytics, Google has developed a number of new functionalities. One of them allows you to track users across different devices. It is a new way of collecting user information called “User ID”.
Tracking the User ID enables the analysis of groups of sessions, across different devices, using a unique, persistent, and non-personally identifiable ID string, representing a user. In order to generate this cookie, you will have to go directly into the source code and place a tag. Alternatively you can use the Google Tag Manager (GTM) if you already have an account. In this article, we will present the GTM solution to implement the User ID, without using a dataLayer.
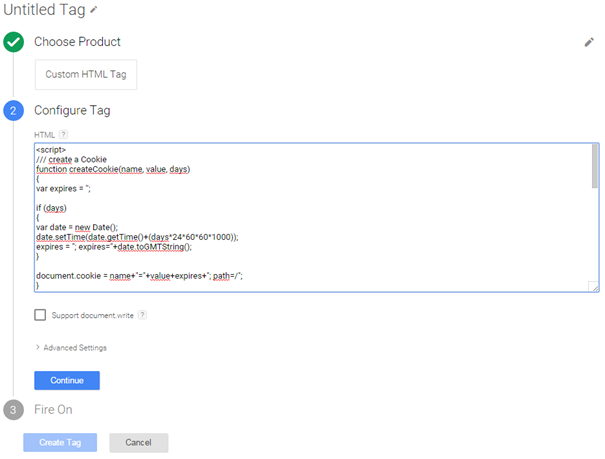
1) Create a piece of Custom HTML to store the user’s identifiable information (cookie creation)
In the Google Tag Manager, among all tags you can create, it is possible to define a “Custom HTML”. As the name suggests, you can write your own code snippet and place it wherever you want on your website via the Google Tag Manager. As with the other tags, you will have to use the firing rule to indicate where the cookie should be defined. With this operation, you create a unique cookie at the moment the visitor enters an identifiable information (e.g. an e-mail address).
2) Create a variable (former known as macro) to collect the User IDs
The second step is to create a variable (former known as “macro”), as shown below:
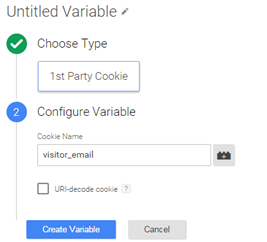
Note that the cookie name should be the same as the parameter collecting the identifiable information on your website. This parameter is in your source code and is used in the Custom HTML tag creating the cookie. Thanks to this variable, you will be able to collect all User IDs created by the custom tag. I will name this variable “UID Collection”.
3) Send the User ID information to Universal Analytics via Google Analytics tag
At this stage, you created cookies and collected all User IDs. The goal now is to send the ID data to your Universal Analytics account. This operation is done within the Google Analytics tag in the GTM. In this tag, go down to “Fields to Set” and attribute the variable recently created to a new field.

Don’t forget to create a new Google Tag Manager version and publish it in order to ensure that all your changes have been activated on the website.
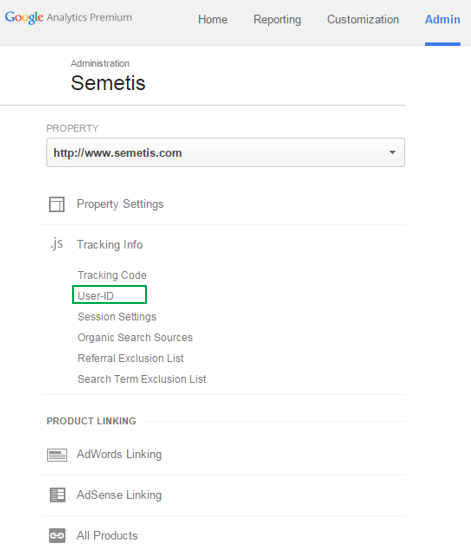
Once the value is sent, you will need to create a specific view to measure and study users behavior in Universal Analytics. You will be able to activate the view “User ID” in Universal Analytics interface (cfr. screenshot below) and benefit from new reports in this view.